Mavic Pro / Platinum Linking the Remote Controller
Step 1 – Plug a compatible phone or tablet into the remote controller using the included USB cable corresponding to your device or unplug the side cable and connect a USB phone charging cable to the port on the bottom of the controller.
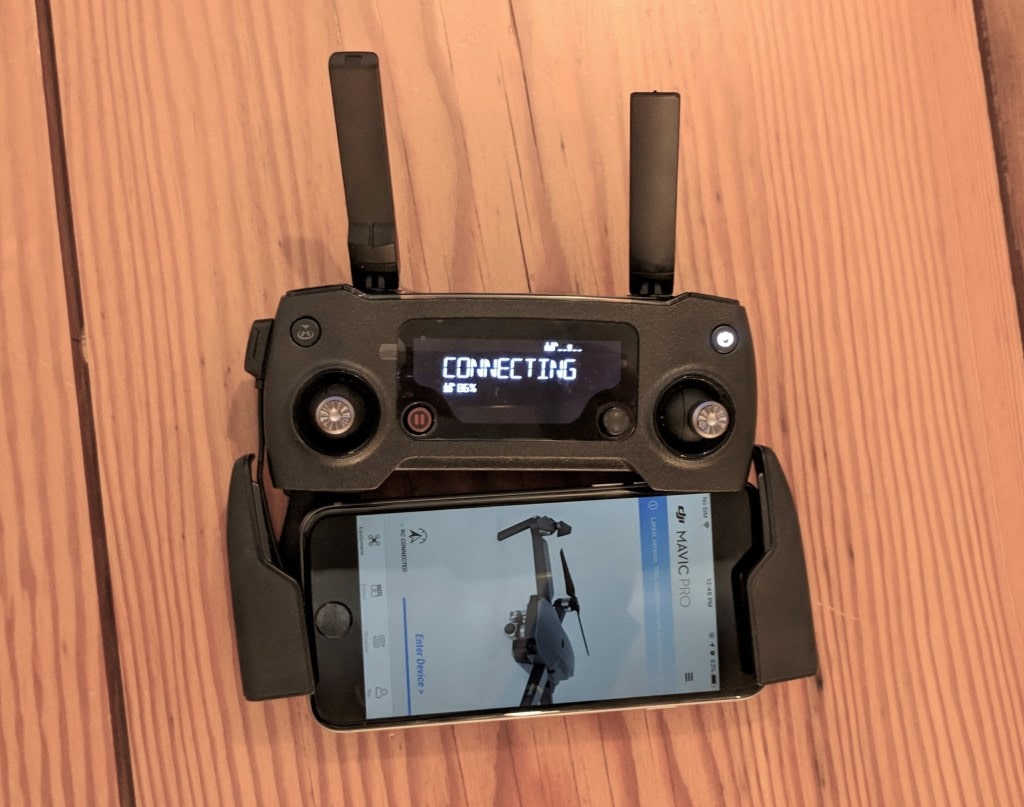
Step 2 – Power on the controller by pressing the power button, releasing, and then press again while holding until the controller boots up.
Step 3 – Launch the DJI Go 4 app on your phone and select
Enter Device to
enter the camera view.
Step 4 – Once in the camera view select the ••• icon in the top
right corner.
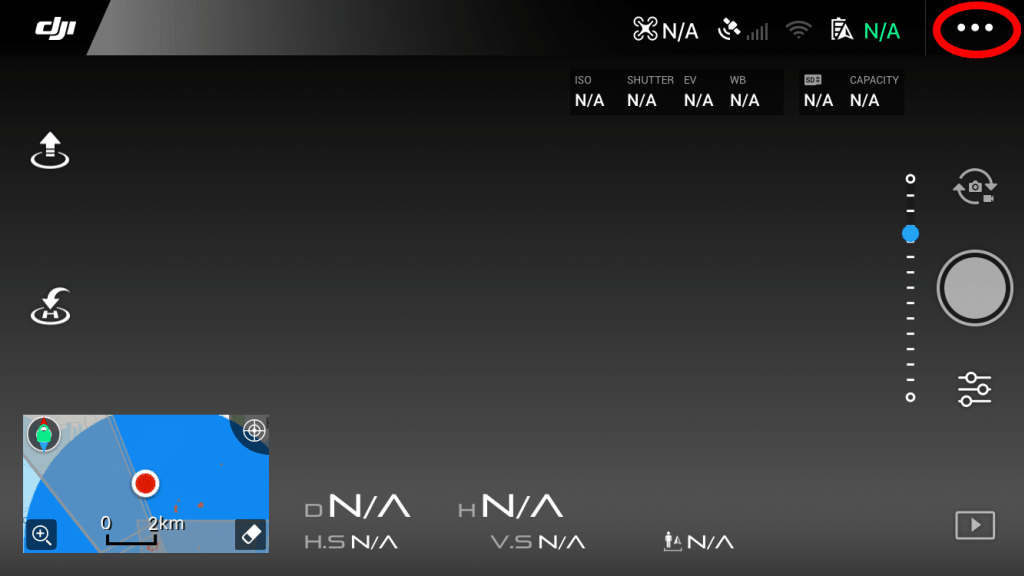
Step 5 – Select the transmitter icon from the left side of the menu.

Step 6 – Scroll down to Linking Remote Controller, click it, and
select OK.


Step 7 – The remote controller should now give you 60 seconds to power on the aircraft and enter linking mode. To this this begin by powering on the aircraft. To power on the Mavic Pro press the power button on the battery, release, and then press again while holding until boot up.
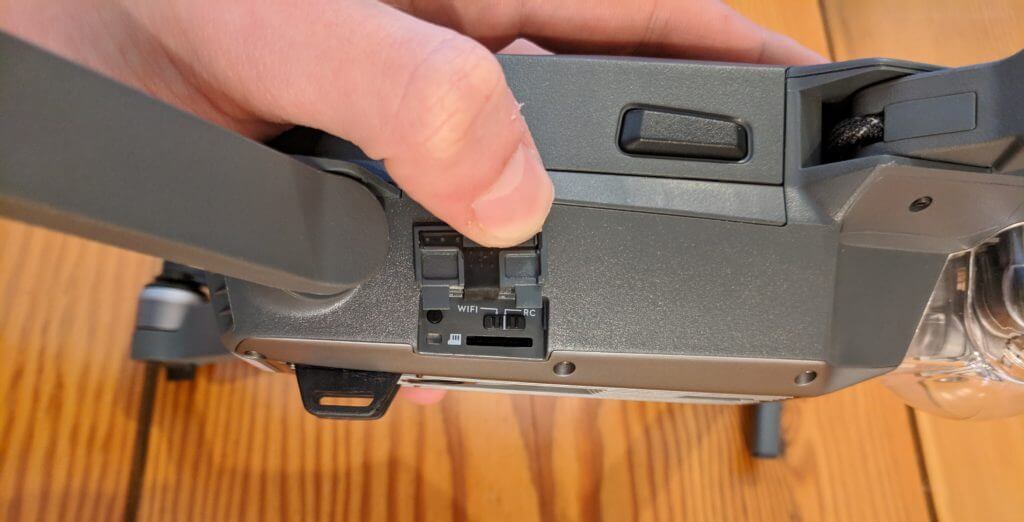
Step 8 – Locate the cover under which the SD Card slot, linking button, and
WiFi switch is located. Open the cover and make sure the switch is set
towards the RC label.
Step 9 – Press the button directly above the LED with a pen or paperclip. The light should turn Red.
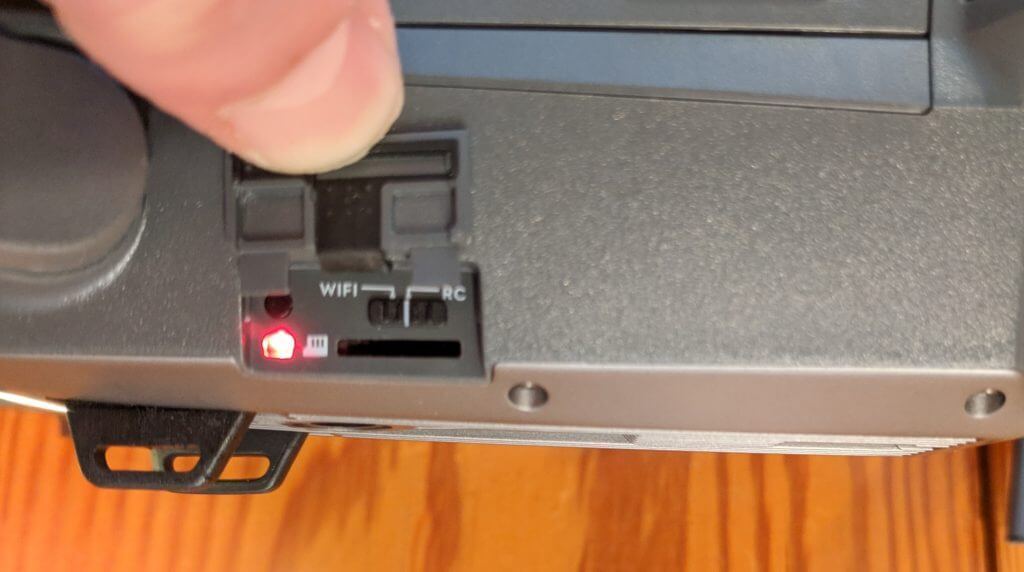
The transmitter and aircraft should link automatically and the light will turn green. If you have any drone problems feel free to contact Seattle Drone Repair.